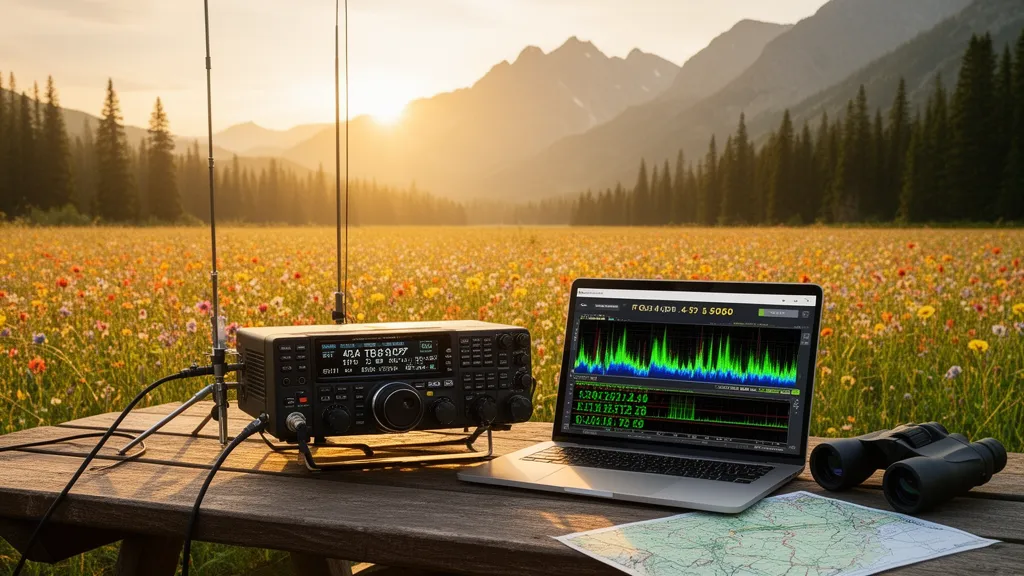
Operator’s Verdict: POTA in one sentence: Drive or hike to a designated park, set up your HF radio, make 10 contacts, upload the log to pota.app, and you have a valid activation. It sounds simple because it is — and the community supporting you is enormous.
What Makes POTA Special
Parks on the Air has grown from a niche experiment into one of amateur radio’s largest and most active programs. At any given hour, dozens to hundreds of activators worldwide are simultaneously operating from parks, and thousands of chasers are monitoring spots to work them.
The appeal is multilayered:
- For activators: Combines outdoor recreation with radio operating; low stakes (10 contacts is a low bar); each new park is a new achievement
- For chasers: Continuous fresh targets to call; many parks have been activated only once or twice; some rare parks carry high award prestige
- For the hobby: POTA creates HF activity at all hours, in all conditions, providing constant test targets for propagation experiments
Pro Tip: Before your first activation, check DXRadar’s best bands now page to see which bands have active PSKReporter spots. If 20m is packed with spots, start there — chasers are already listening. If conditions look thin, the solar weather dashboard will tell you if SFI or Kp is the bottleneck.
Step 1: Find Your Park
Go to pota.app and enable location access, or search manually. The map displays all POTA-eligible parks near you in green. Key things to check:
- Park boundaries: You must be physically within the park to count the activation. Check the satellite map overlay to confirm your planned operating spot is inside the boundary.
- Access: Is the park open year-round or seasonal? Is there a fee? Are overnight stays permitted if you’re planning a longer activation?
- Previous activations: Click the park to see how many times it has been activated. A park with 0 activations is a “virgin park” — valuable to chasers for awards — but no history means no guarantee of chaser pileup.
Step 2: Plan Your Bands and Frequencies
Before you go, check propagation conditions for your activation day at DXRadar. Key questions:
- Current SFI: Above 100 → plan to start on 15m or 20m; above 140 → try 10m too
- Current Kp: Below 3 → ideal; above 4 → focus on 20m and 40m
- Time of day: Morning activations → 20m to Europe; midday → 20m to multiple directions; afternoon → 20m and 40m
Recommended frequency plan for a typical weekday activation:
| Band | SSB Frequency | FT8 Frequency |
|---|---|---|
| 20m | 14.250–14.300 MHz | 14.074 MHz |
| 40m | 7.200–7.290 MHz | 7.074 MHz |
| 10m | 28.350–28.500 MHz | 28.074 MHz |
SSB calling procedure: “CQ POTA CQ POTA, this is [CALLSIGN] portable at [PARK REFERENCE], QRZ?”
Step 3: Set Up Your Station
Essential kit:
- Transceiver (HF, 5–100 watts)
- Portable antenna — a 40m/20m linked dipole or 20m EFHW wire deployed between trees or on a portable mast
- Battery or power source (12V LiFePO4 or sealed lead acid)
- Logging app: HAMRS (iOS/Android, POTA-specific, free) or N1MM+ (Windows)
- Headphones to reduce background noise
- Optional: folding table, camp chair, sunscreen
Antenna deployment tips:
- Trees are excellent antenna supports — use a weighted throw line to get a wire end to 10+ metres
- A 20m EFHW (end-fed half-wave) wire is approximately 10.1 metres long and works with a 49:1 matching transformer; no counterpoise needed for most installations
- Direction doesn’t matter much — a horizontal wire in any orientation works well for POTA
Step 4: Spot Yourself and Start Operating
Once you are set up and ready:
- Go to pota.app on your phone → “Activator” → “Add Spot”
- Enter: callsign, park reference number, frequency, mode (SSB / FT8 / CW)
- Submit — your spot appears on the POTA worldwide map immediately
Watch for chasers to start calling within 1–3 minutes. If no response after 5 minutes, consider:
- Refreshing your spot
- Switching to FT8 (WSJT-X on a laptop or Android tablet)
- Moving to a different band
Step 5: Complete 10 QSOs and Log Them
Log each contact: callsign, time (UTC), frequency, signal report (typically 59 for voice). HAMRS auto-formats for POTA upload.
The 10-QSO minimum is the only hard requirement. Most activations get 30–100+ contacts in an hour; popular parks with good propagation can see 200+ per session.
Operating conventions:
- Give your callsign phonetically every 3–5 QSOs
- Keep exchanges short: “W1ABC, 59, 59, thanks POTA QSL”
- For large pileups: work by regions (“North America only”), then Europe, then DX
Step 6: Upload the Log
After the activation, open HAMRS (or your logging software) and export the ADIF file. Upload to pota.app → “My Logs” → “Upload Log”.
- Logs should be uploaded within 7 days
- Chasers’ contacts appear in their POTA account as soon as the log is processed (typically minutes)
- You receive email confirmation of a valid activation once POTA staff process the log
Propagation Tips for POTA Success
Use DXRadar’s POTA map layer to see where other activators are currently operating and on which bands. This helps you:
- Avoid operating on the same band as a nearby activator (splits the chaser pool)
- See which bands are drawing the most contacts at that moment
- Check solar conditions before deciding whether to bother with 10m
Monitor the best-bands-now page throughout your activation. If 20m drops from EXCELLENT to POOR due to a solar event, switch to 40m FT8 immediately.
Frequently Asked Questions
What is Parks on the Air (POTA)?
Parks on the Air (POTA) is a globally recognised ham radio program that encourages amateur radio operators to make contacts from designated parks, forests, wildlife refuges, and other public lands. An operator at a park is called an ‘activator.’ An operator working the activator from home or another location is called a ‘chaser.’ To achieve a valid activation, an activator must complete at least 10 contacts (QSOs) from within the park boundaries.
What equipment do I need for a POTA activation?
The minimum kit for a POTA activation: an HF transceiver capable of at least 10 watts (though QRP at 5 watts is popular), a portable antenna (end-fed half-wave wire or dipole), a battery or power source, a logging app (HAMRS or N1MM+ recommended), and your callsign and license. Many operators activate successfully with a $500–$700 QRP rig, a wire antenna, and a smartphone for logging. No special equipment beyond standard HF operating is required.
How do I find parks to activate for POTA?
Visit pota.app and use the map or list view to find parks near you. The program includes over 50,000 parks globally across 1,000+ entities (countries/regions). US parks include National Parks, National Forests, State Parks (in many states), National Wildlife Refuges, Army Corps of Engineers lakes, and more. Click any park to see its reference number (e.g., K-0123), boundaries, and previous activation history.
How do I spot myself on POTA?
Self-spotting is encouraged and necessary for attracting chasers. Once you are set up and ready to operate, add a spot at pota.app (web or app) with your callsign, park reference, frequency, and mode. Your spot appears on the POTA map and real-time spot list, immediately alerting the global chaser community. Spots are active for approximately 30 minutes and should be refreshed if you stay on a frequency. DXRadar also displays live POTA activator spots on its main map.
Which bands are best for POTA?
20 meters (14 MHz) is the most popular POTA band for good reason: it is open virtually 24 hours a day, reaches chasers from 1,000 to 15,000 km, and every chaser monitors 14.074 MHz FT8 and 14.250–14.300 MHz SSB. 40 meters is the second most popular, particularly for daytime activations when NVIS provides excellent regional coverage (300–800 km). Check DXRadar’s band conditions at /best-bands-now before your activation to know which band will have the best reach for your geographic location.